Following our conversation with Brent Ozar on how to improve session quality at community events, we will be introducing new guidelines to all submitted sessions:
We would require an uploaded slide deck for every submitted session. It doesn’t have to be the final copy by any means, but just whatever you’ve got.
Our Content Moderation Team will open, read, and recap your slides, as well as compare if they line up with the session title and abstract
If the slides don’t line up with the session title and abstract, we will ask you to change them. They should match what you’re teaching. Don’t feel bad about the change! Think of us as your session co-pilot.
If time permits, we will schedule an MS Teams meeting to go over your content and our feedback.
Our main goal here is to help speakers shine. In addition, we want attendees to understand their options. This helps them choose which session to attend.
📅 When: Saturday, May 3, 2025 📍 Where: Quest Software | 20 Enterprise, Aliso Viejo, CA 92656
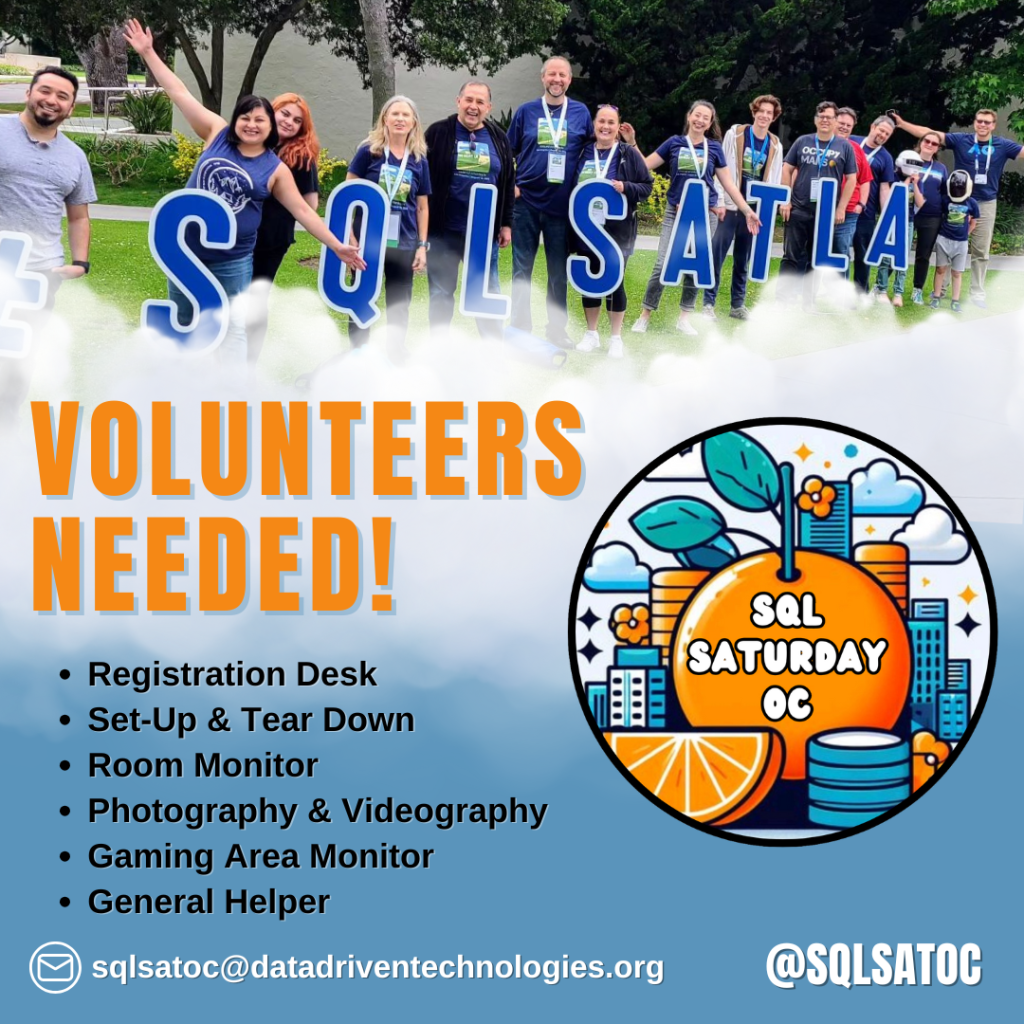
Why Volunteer?
SQL Saturday Orange County is a free, full-day technical conference that brings together data professionals, speakers, and tech enthusiasts for a day of learning, networking, and fun. Volunteering is a great way to: ✅ Give back to the tech community ✅ Connect with industry professionals ✅ Gain event-planning experience ✅ Get an exclusive behind-the-scenes look at SQL Saturday
Volunteer Roles Available
We have several roles available, whether you can help for the full day or just a few hours:
📝 Registration Desk – Welcome attendees and assist with check-in 🎤 Room Monitor – Help speakers stay on schedule and assist with session logistics 📸 Photography & Videography – Capture event highlights and memorable moments 🎮 Gaming Area Monitor – Keep the fun going in the break-time gaming area 🛠 Set-Up & Tear Down – Help with setting up and packing up event materials 💡 General Helper – Be ready to assist wherever needed
How to Sign Up
Interested in being part of this amazing event? Sign up as a volunteer by filling out this quick form: 👉 Volunteer Form
Don’t Forget to Register!
Even as a volunteer, you should still register for the event to enjoy the full SQL Saturday experience. Register here: 🎟 Event Registration
🎉 Thank you for your support—we can’t wait to see you at SQL Saturday Orange County 2025!
📅 When: Saturday, May 3, 2025 📍 Where: Quest Software | 20 Enterprise, Aliso Viejo, CA 92656
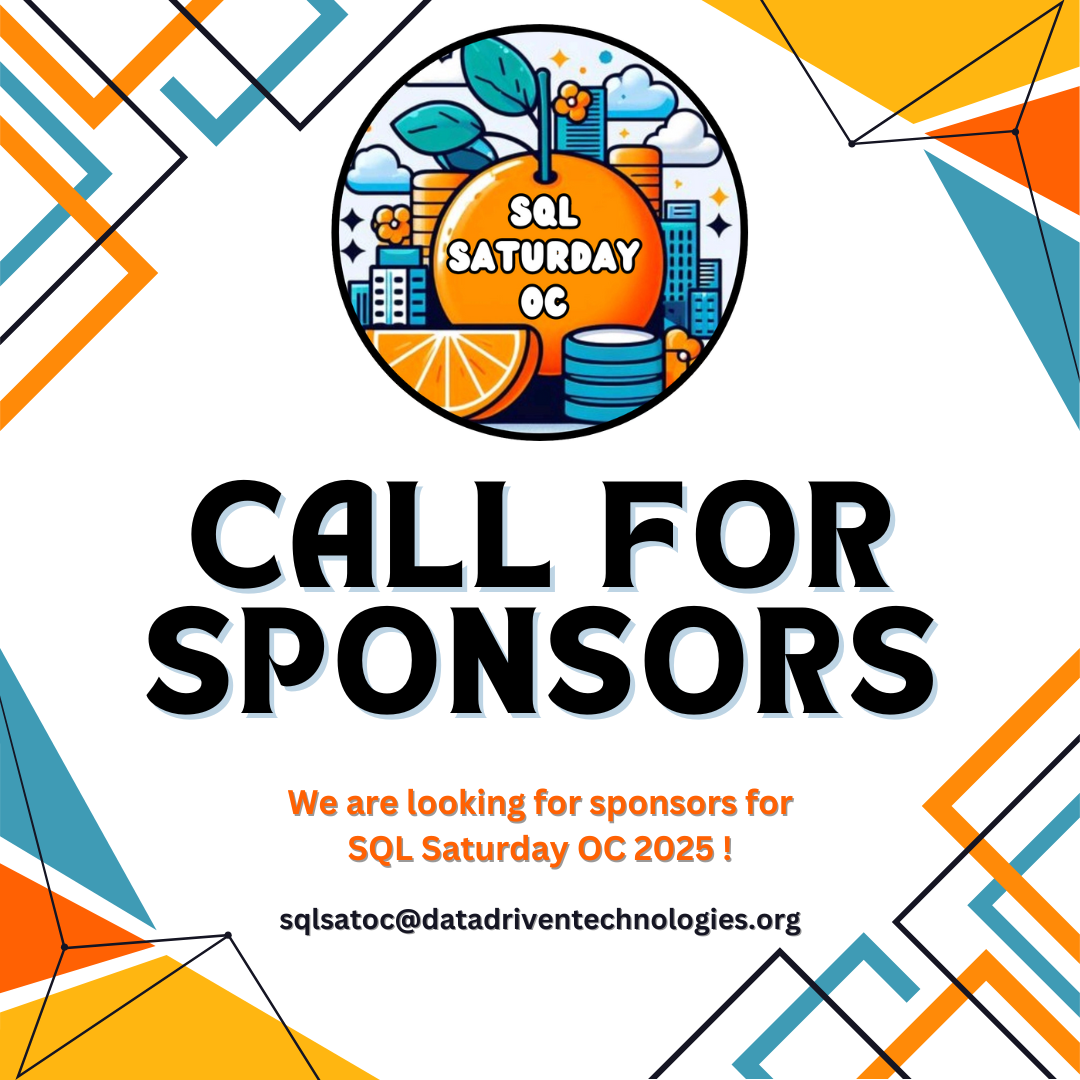
We are excited to invite you to sponsor SQL Saturday Orange County 2025, a premier event for data professionals to connect, learn, and grow. Your sponsorship directly supports the event, allowing us to provide a high-quality experience for attendees while promoting your brand to a dedicated audience of database and technology professionals.
Why Sponsor SQL Saturday Orange County?
SQL Saturday OC is a single-day, community-driven conference where data professionals enhance their skills, explore new technologies, and network with industry peers. In 2024, we welcomed over 200 attendees, and we aim to exceed that number in 2025!
This event is organized by Mima Lopez, Event Coordinator of SQLSATOC, and working in conjunction with Data Driven Technologies, Inc., a local 501(c)(3) nonprofit, along with volunteers and industry experts from California and beyond.
Sponsorship Plans
We offer various sponsorship levels to match your budget and business objectives. Your contributions will be used solely for event costs, and any surplus will go toward future community events.
Sponsorship Tiers
VIK ($0)
Bronze ($500)
Silver ($750)
Gold ($1,750)
Platinum ($2,500+)
Swag/Advertising (min. of 250 items)
✅
❌
❌
❌
❌
Logo on Website & Social Media
✅
✅
✅
✅
✅
Logo in Event Slides & Videos
✅
✅
✅
✅
✅
Social Media Posts
✅
✅
✅
✅
✅
Raffle Participation
✅
✅
✅
✅
✅
Collect Raffle Leads
❌
✅
✅
✅
✅
Email to Attendees
❌
❌
✅
✅
✅
Sponsor Table
❌
❌
✅
✅
✅
Product Session
❌
❌
❌
✅
✅
Room Naming
❌
❌
❌
✅
✅
Sponsor Lunch
❌
❌
❌
❌
✅
Appreciation Dinner
❌
❌
❌
❌
✅
Additional Sponsorship Opportunities
Want to enhance your presence at SQLSATOC? These add-ons can ONLY be bundled with any sponsorship tier:
Lanyards & Badge Holders ($250 + material costs)
Speaker Shirts ($1,500) – Your logo on speaker apparel
Volunteer Party ($1,000) – Recognition at our pre-event social
After Party ($500) – Network with attendees post-event
Attendee Information
Unless the attendee specifically requests that their information not be shared, sponsors will receive contact information for all attendees.
Raffle Management
Raffle registration is used to opt-in attendee information with our sponsors. Remember the raffle prize is your key to success and the better the prize the more leads you will collect. Attendees must be present to win.
We will manage the raffle, collect, clean up, and de-dup the data for you and send you the leads after the event. We will let you know who the raffle winners are, and you can send them the prize. At the same time, we strongly recommend we take over prize disbursement as well, to be a one-stop shop for an entire raffle lifecycle. Please let us know if you would like to handle the raffle prize on your own.
Where: UCSD Extension (6256 Greenwich Dr, San Diego, CA 92122)
Sponsorship Plan
We appreciate you taking the time to consider sponsoring 2025 SQL Saturday San Diego. We have assembled a few sponsorship plans that you can select from. Donations for this event will be used only to cover the cost of running an event. If we have any surplus, it will go into sponsoring future events.
The event is put on by Rebecca Renko Dycus, lead organizer of SQLSAT SD, and working in conjunction with Data Driven Technologies, Inc. a local 501.c.3 non-profit, and its volunteers. SQLSATSDis spearheaded by a local organizing team, put together by a group of dedicated California-based database community volunteers, user group leaders, and volunteer speakers from SoCal, NorCal, other US States, and globally. The funding for this event is coming from Data Driven Technologies, Inc. a local 501.c.3 non-profit.
Event Overview
The 2025SQL Saturday San Diego is a single-day conference that offers data professionals the opportunity to improve their skills and learn about new products while networking with others in their field and connecting with other members of the local Database community and our sponsors .
Attendance
We had over 400 registered attendees for our kick-off in 2024. Our goal is to exceed the previous year’s attendance each year. Review some of the fun we had in last year’s pictures
Cost of Sponsorship
2025 SQLSAT SD sponsorship ranges between $0 for VIK (Value-in-kind) to$2,500+ for Platinum, depending on the package you select: (VIK: company literature inserts, pens, notepads, stress balls, bags/tote, keychains, magnets, stickers, cups, gadgets, etc.)
TIER
VIK
Bronze
Silver
Gold
Platinum
AMOUNT
$0
$500
$750
$1750
$2500+
SWAG/Advertisement (min. of 250) Products/services in lieu of money
X
Sponsor Logo and URL on the event website
X
X
X
X
X
Sponsor Logo and URL included in social media/email campaigns
X
X
X
X
X
Sponsors Logo included in session slides
X
X
X
X
X
Sponsor Logo included in YouTube videos
X
X
X
X
X
Social Media posts Facebook/X/LinkedIn/Instagram
X
X
X
X
X
Sponsor Raffle
X
X
X
X
X
Collect Raffle Leads*
X
X
X
X
Email sent on behalf of a sponsor
X
X
X
Sponsor table Comes with 1 table, 2 chairs, WiFi, and electricity (based on availability. Attendance is-optional)
X
X
X
Product-focused sponsor session (Based on availability)
X
X
Sponsor a room (name a room) (Based on availability)
X
X
Sponsor a Lunch
X
Sponsor a Speaker Appreciation dinner
X
ADD-ON Sponsorship Options: The following add-on options are available and can ONLY be bundled with a sponsorship above. Please contact us if you want to sign up for one of these and we can send you a single payment link.
Option #A:Lanyards & Badge Holders. $250 + cost of the materials (or you provide this is a great add-on for marketing your company/business)
Option #B: Speaker shirts ($1500). Our logo on the front, your logo on the sleeves / back.
Option #C: Volunteer Party ($1000). We host an event for the speakers, sponsors, and main volunteers the Friday night before the event from 7-9 pm.
Option #D: After Party ($500). This would run from 5-7 pm and usually includes soft drinks and appetizers, but we can customize this if you would like to do more.
ATTENDEE INFORMATION: Unless the attendee specifically requests that their information not be shared, sponsors will receive contact information for all attendees.
For other forms of payments like Zelle and ACH, please send an email to:
sqlsatsd@datadriventechnologies.org
CancellationPolicy
Any cancellation that is caused by us will result in a full refund. It’s really that simple – no event, no expenses, no need for sponsorship money.
RaffleManagement
Raffle registration is used to opt-in attendee information with our sponsors. Remember the raffle prize is your key to success and the better the prize the more leads you will collect. Attendees must be present to win.
We will manage the raffle, collect, clean up, and de-dup the data for you and send you the leads after the event. We will let you know who the raffle winners are, and you can send them the prize. At the same time, we strongly recommend we take over prize disbursement as well, to be a one-stop shop for an entire raffle lifecycle. Please let us know if you would like to handle the raffle prize on your own.
Every community event (Data.SQL.Saturday.LA event is not an exception here) organizer has a guessing game on topic popularity. Every event planning involves a combination of “I think the majority of attendees would attend a Power BI session” with “Who are the best speakers on Power BI”. This is just an example of course, but hopefully you see the problem.
We have decided to reduce the guessing and allow prospective attendees to define their desired content. Take a poll and help us out.
About a week ago, on June 1st, 2024, we delivered our 8th Data.SQL.Saturday.LA (yes, we didn’t stop in 2020 and 2021 and delivered 2 virtual events). It’s now a perfect moment to share our experiences, the successes, and the lessons we learned along the way.
Overcoming Obstacles
Obstacles:
Delivering 2024 SQL Saturday in Orange County just one month ago.
Getting many sponsors, speakers, and attendees
Delivering an event in a new building
The keys to our success are delegation, very experienced organizing team, and proven toolbox. To some degree, it was just a rinse and repeat for 8th time in a new building.
Event Highlights and Successes
The event saw numerous successes:
Listed all event tasks in Planner to facilitate delegation and transparency
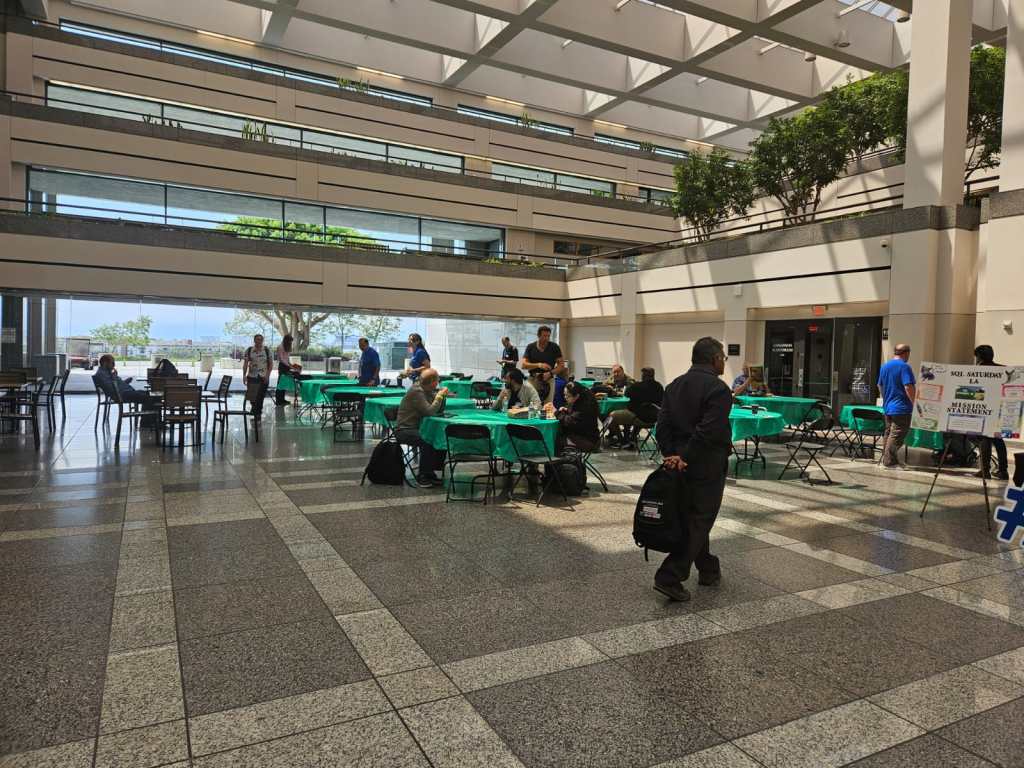
Welcomed over 70 attendees, with more than 140 registrations.
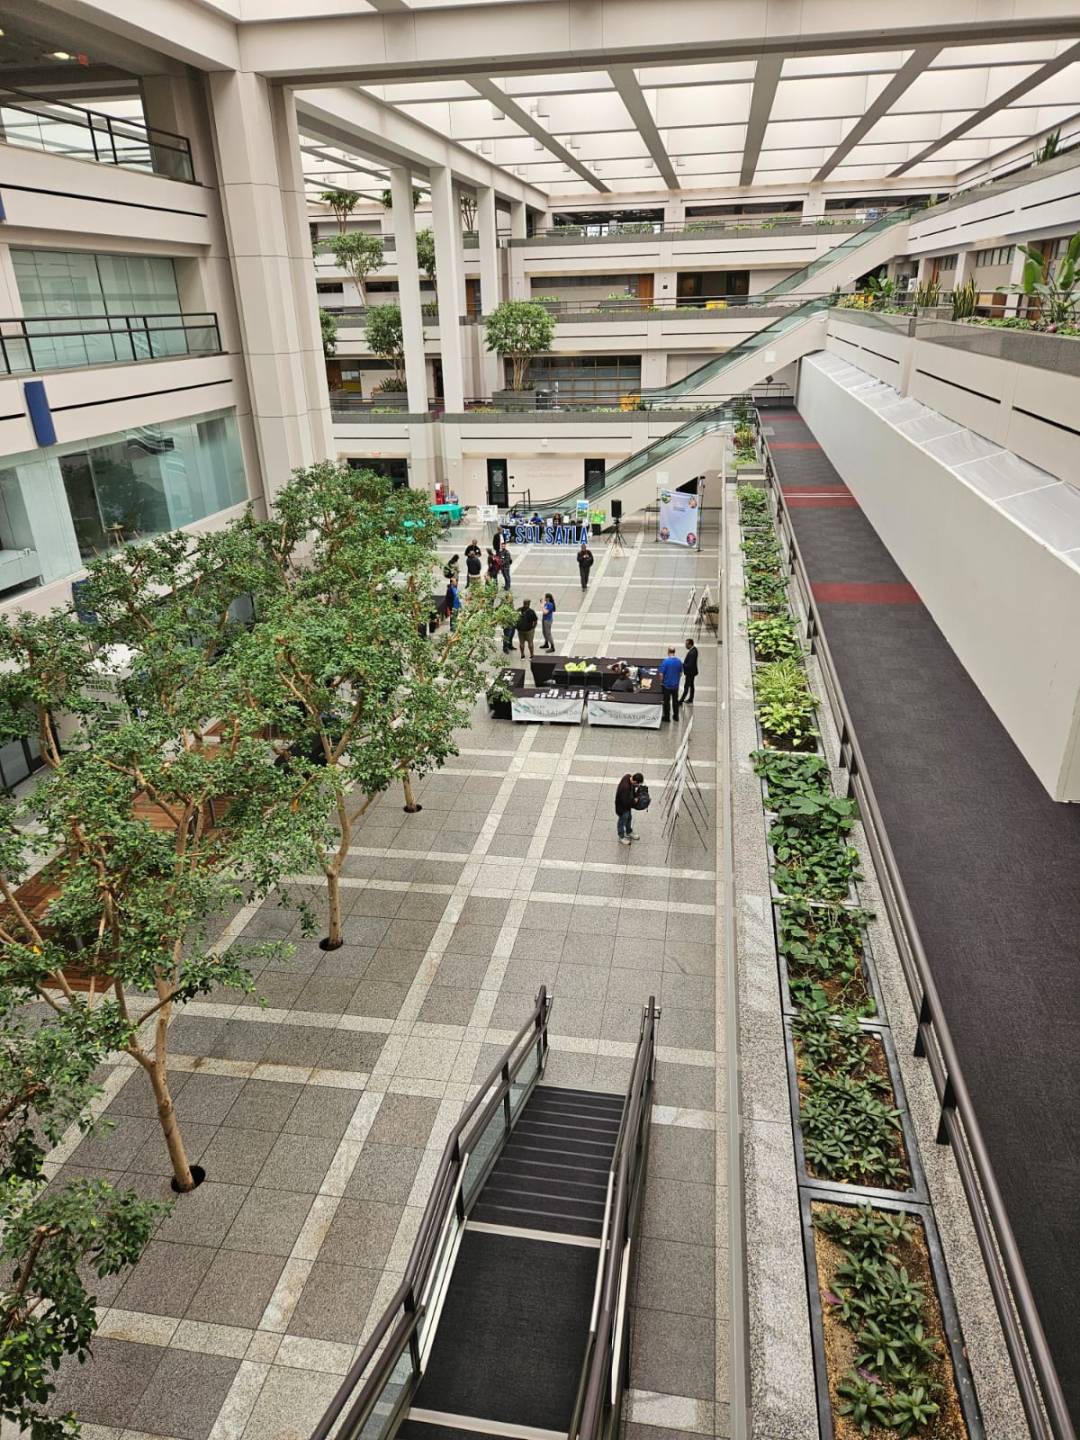
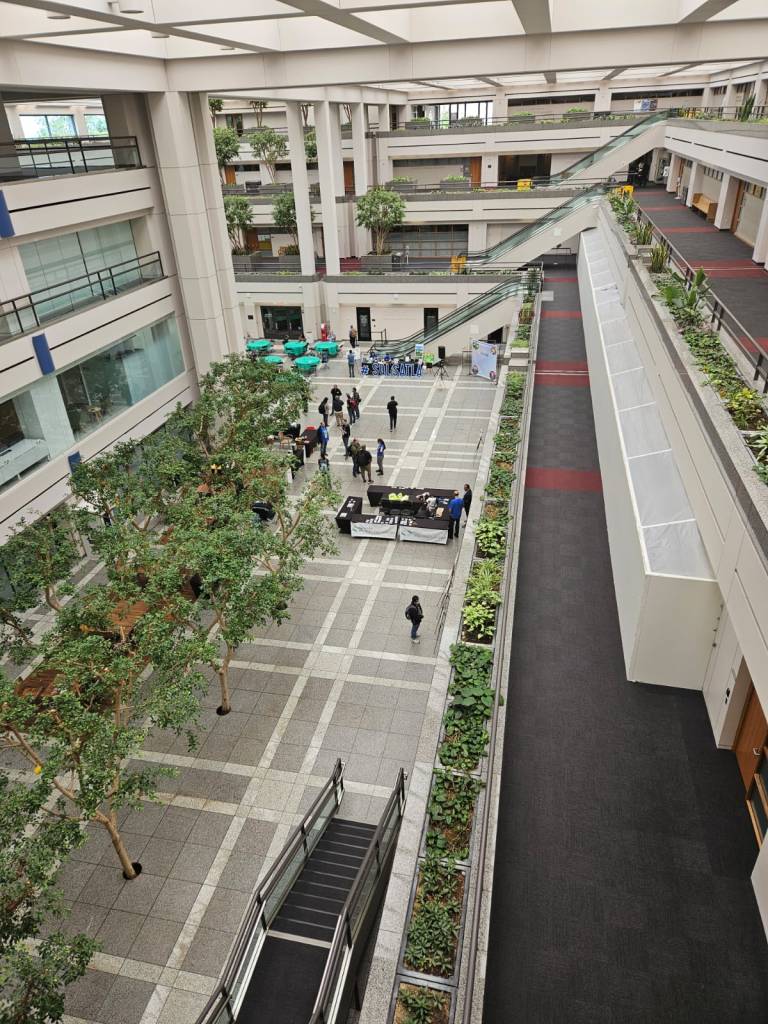
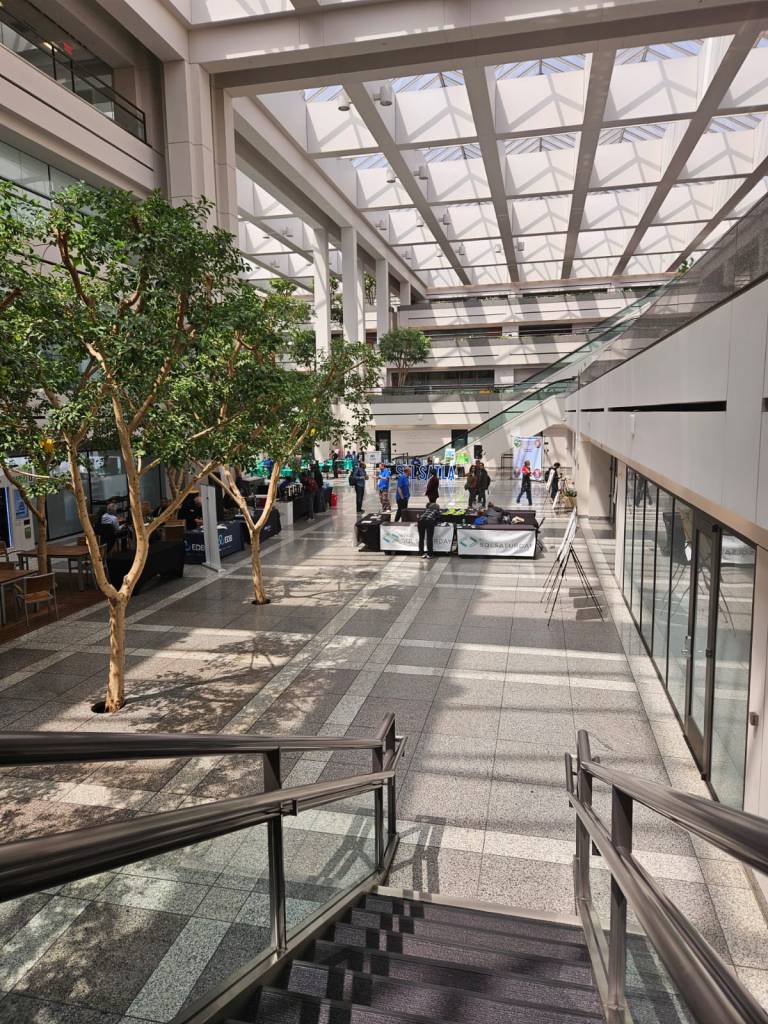
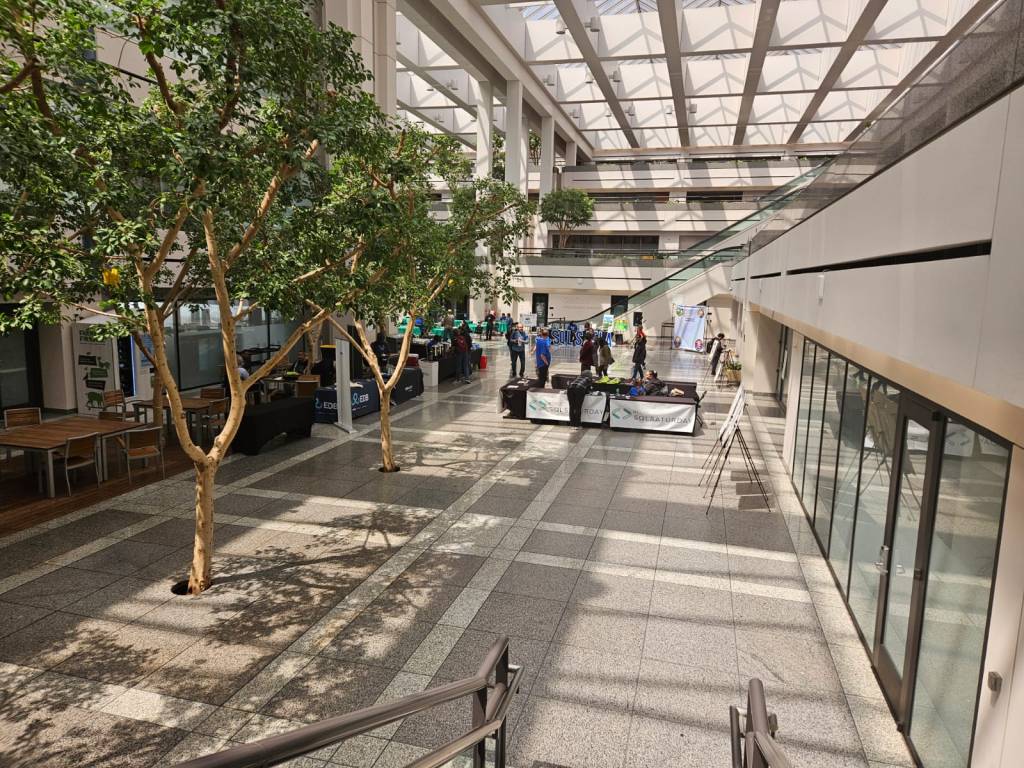
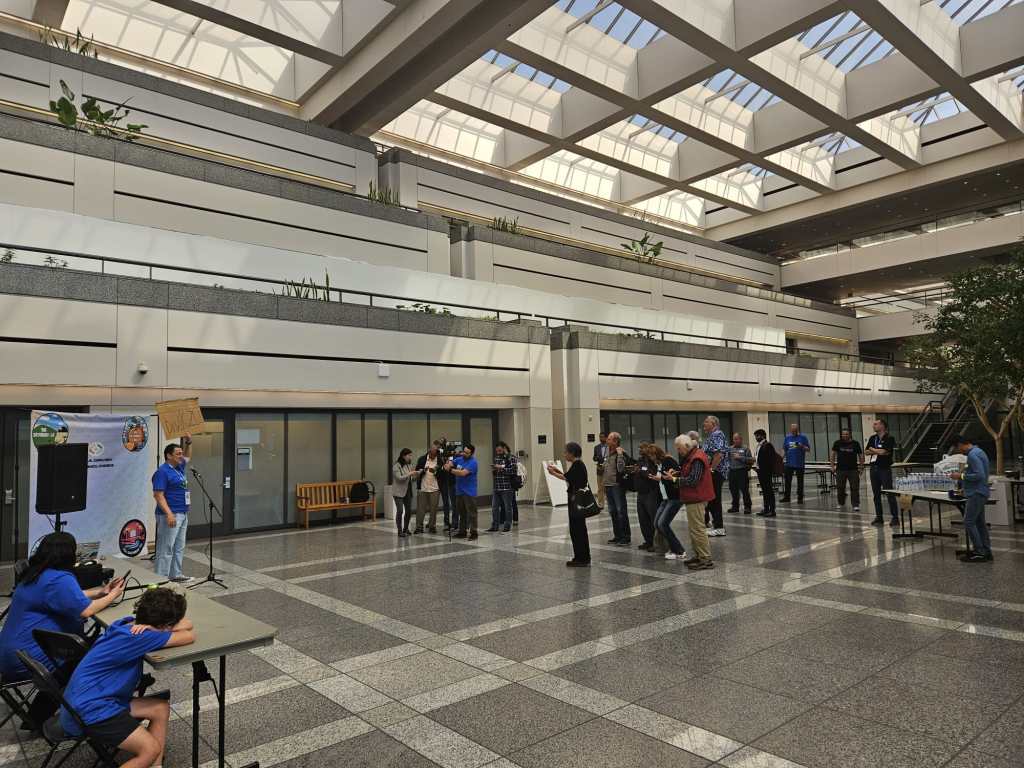
Celebrated our 8th event in a new gorgeous building (LMU, University Hall)
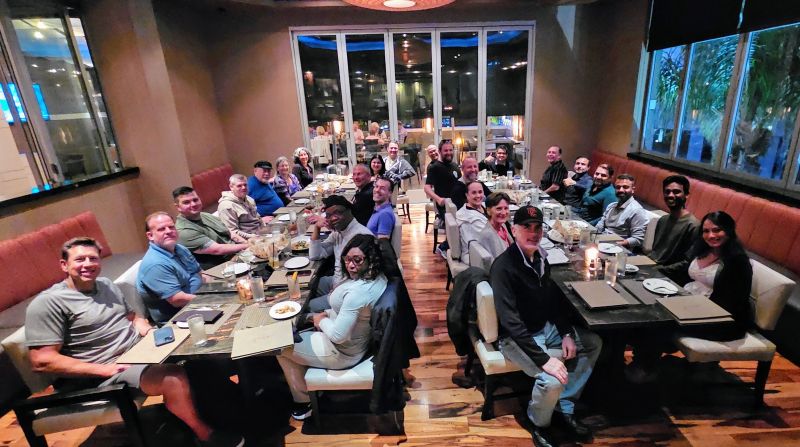
Fancied speaker and volunteer appreciation dinner at Gulp Brewery in Playa Vista
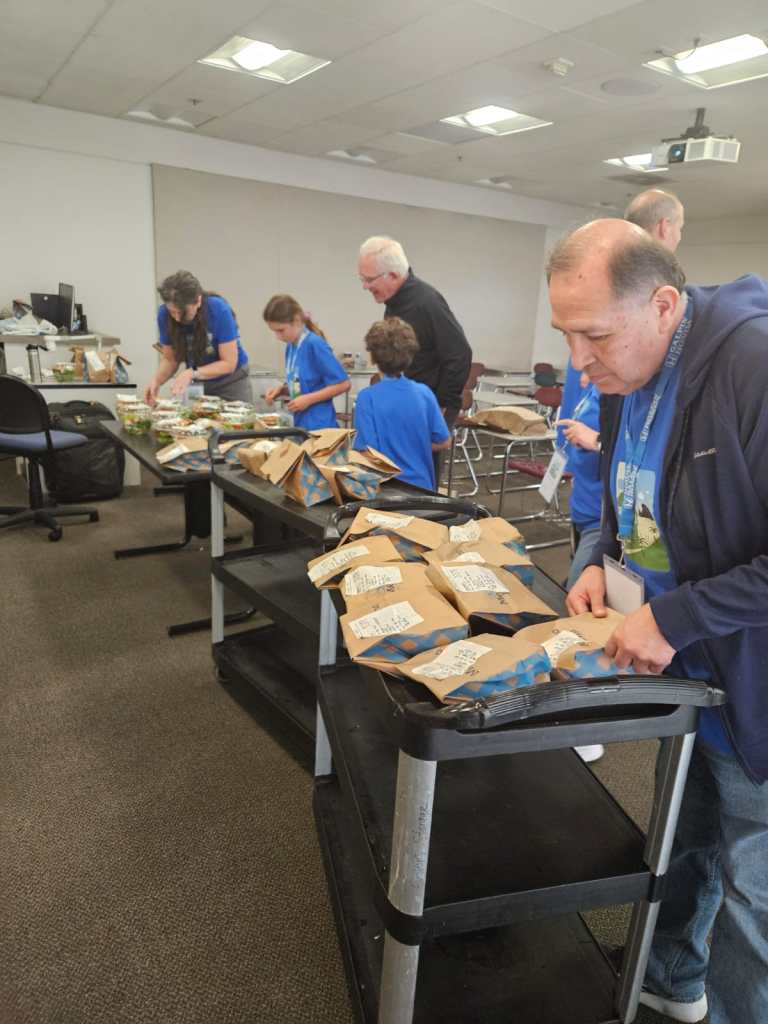
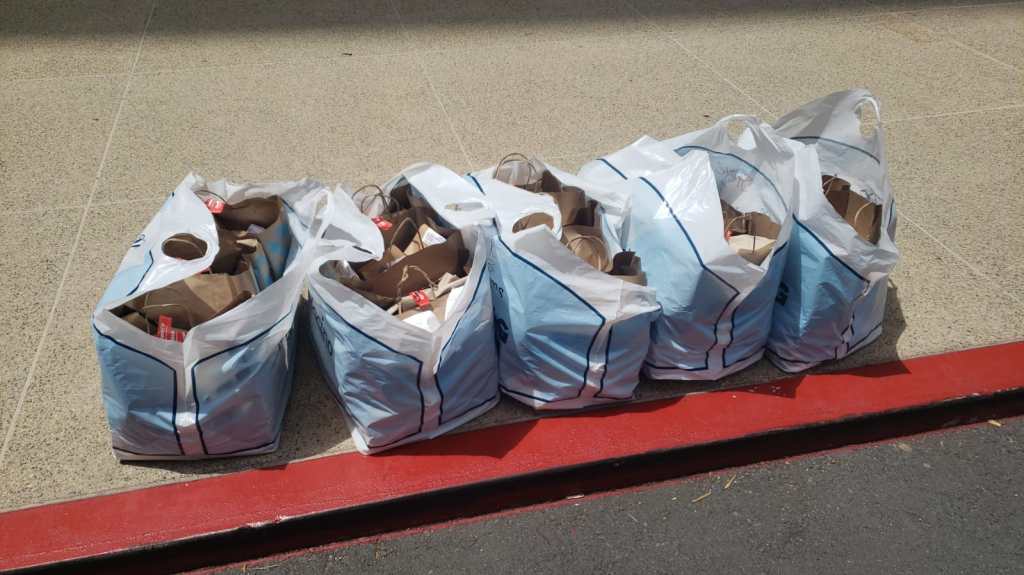
Perfected lunch order with collecting lunch selection during registration ticket while sending an email to Mendocino Farms in Marina Del Rey with individual choices and names
Used EventZilla for registration and check-in as well as collecting lunch chpices
Taking photos and videos with our new event backdrop
Lessons Learned and Future Improvements
While many aspects of the event were successful, we identified areas for improvement:
2-3 months of advanced planning is required for pre-conference on Friday
Bring lunch much earlier
Improve EventZilla experience
Add signage floorplan
As we reflect on 2024 Data.SQL.Saturday.LA, we are grateful for the community’s enthusiasm and participation. Each challenge was an opportunity to learn and each success, a moment to celebrate. Looking forward, we are excited to apply these insights to make future events even more rewarding and engaging for everyone involved.
Join us as we continue to build on this foundation, ensuring SQL Saturday remains a cornerstone event for our community. Thank you to everyone who joined us this year, and here’s to many more successful gatherings in the future!
Where: UCSD Extension (6256 Greenwich Dr, San Diego, CA 92122)
Sponsorship Plan
We appreciate you taking the time to consider sponsoring 2024 SQL Saturday San Diego. We have assembled a few sponsorship plans that you can select from. Donations for this event will be used only to cover the cost of running an event. If we have any surplus, it will go into sponsoring future events.
The event is put on by Rebecca Renko Dycus, lead organizer of SQLSAT SD, and working in conjunction with Data Driven Technologies, Inc. a local 501.c.3 non-profit, and its volunteers. SQLSATSDis spearheaded by a local organizing team, put together by a group of dedicated California-based database community volunteers, user group leaders, and volunteer speakers from SoCal, NorCal, other US States, and globally. The funding for this event is coming from Data Driven Technologies, Inc. a local 501.c.3 non-profit.
Event Overview
The 2024SQL Saturday San Diego is a single-day conference that offers data professionals the opportunity to improve their skills and learn about new products while networking with others in their field and connecting with other members of the local Database community and our sponsors.
Attendance
We anticipate 150-200+ attendees for our kick-off in 2024. This is going to be our first event after COVID. SQL Saturday in San Diego used to bring 400+ attendees before 2020. Our goal is to exceed the previous year’s attendance each year.
Cost of Sponsorship
2024 SQLSAT SD sponsorship ranges between $0 for VIK (Value-in-kind) to$2,500+ for Platinum, depending on the package you select: (VIK: company literature inserts, pens, notepads, stress balls, bags/tote, keychains, magnets, stickers, cups, gadgets, etc.)
TIER
VIK
Bronze
Silver
Gold
Platinum
AMOUNT
$0
$500
$750
$1750
$2500+
SWAG/Advertisement (min. of 250) Products/services in lieu of money
X
Sponsor Logo and URL on the event website
X
X
X
X
X
Sponsor Logo and URL included in social media/email campaigns
X
X
X
X
X
Sponsors Logo included in session slides
X
X
X
X
X
Sponsor Logo included in YouTube videos
X
X
X
X
X
Social Media posts Facebook/X/LinkedIn/Instagram
X
X
X
X
X
Sponsor Raffle
X
X
X
X
X
Collect Raffle Leads*
X
X
X
X
Email sent on behalf of a sponsor
X
X
X
Sponsor table Comes with 1 table, 2 chairs, WiFi, and electricity (based on availability. Attendance is-optional)
X
X
X
Product-focused sponsor session (Based on availability)
X
X
Sponsor a room (name a room) (Based on availability)
X
X
Sponsor a Lunch
X
Sponsor a Speaker Appreciation dinner
X
ADD-ON Sponsorship Options: The following add-on options are available and can ONLY be bundled with a sponsorship above. Please contact us if you want to sign up for one of these and we can send you a single payment link.
Option #A:Lanyards & Badge Holders. $250 + cost of the materials (or you provide this is a great add-on for marketing your company/business)
Option #B: Speaker shirts $1500). Our logo on the front, your logo on the sleeves.
Option #C: Volunteer Party ($1000). We host an event for the speakers, sponsors, and main volunteers the Friday night before the event from 7-9 pm.
Option #D: After Party ($500). This would run from 5-7 pm and usually includes soft drinks and appetizers, but we can customize this if you would like to do more.
ATTENDEE INFORMATION: Unless the attendee specifically requests that their information not be shared, sponsors will receive contact information for all attendees.
For other forms of payments like Zelle and ACH, please send an email to:
sqlsatsd@datadriventechnologies.org
CancellationPolicy
Any cancellation that is caused by us will result in a full refund. It’s really that simple – no event, no expenses, no need for sponsorship money.
RaffleManagement
Raffle registration is used to opt-in attendee information with our sponsors. Remember the raffle prize is your key to success and the better the prize the more leads you will collect. Attendees must be present to win.
We will manage the raffle, collect, clean up, and de-dup the data for you and send you the leads after the event. We will let you know who the raffle winners are, and you can send them the prize. At the same time, we strongly recommend we take over prize disbursement as well, to be a one-stop shop for an entire raffle lifecycle. Please let us know if you would like to handle the raffle prize on your own.
YOUR SPONSORSHIP WILL WELCOME SQL SAT BACK HOME IN SAN DIEGO!!
Just a week ago, on April 27, 2024, we brought back the in-person SQL Saturday event to Orange County for the first time post-COVID. It’s the perfect moment to share our experiences, the successes, and the lessons we learned along the way.
The journey to revive the SQL Saturday in Orange County was not without its challenges. After the hiatus caused by the pandemic, rekindling interest in these events was like navigating a catch-22 situation—organizers were hesitant because they felt the community interest had waned, and potential attendees thought there were no more events due to lack of organization. Despite these initial doubts, it was clear there was still a strong desire for these gatherings within the community.
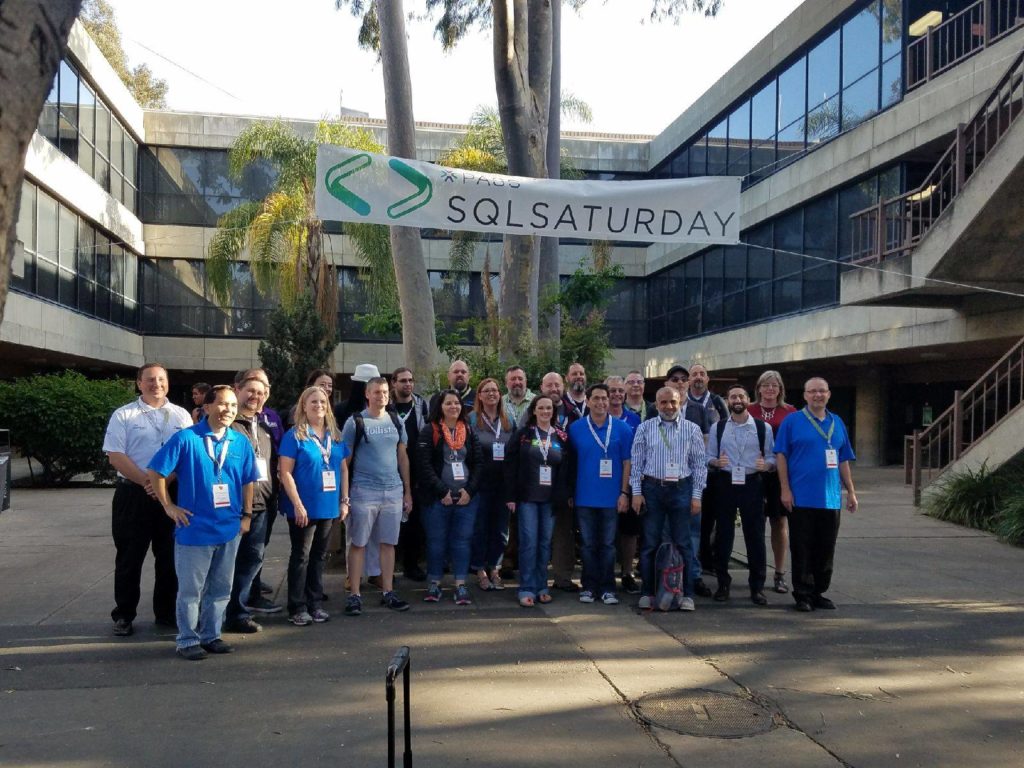
Speaker and Volunteers (2019 SQL Saturday in Orange County)
The Rebirth of a Community Favorite
Our team at Data Driven Technologies, Inc., also known as the SQLSatLA Team, has always held a deep connection to the SQLSatOC and SQLSatSD events. Drawing from our past experiences and the guidance we received from previous organizers, we were determined to do whatever it took to breathe new life into SQL Saturday in Orange County. When our offers to help the original organizers didn’t pan out, we took the initiative to manage everything ourselves, hoping that our efforts would eventually bring everyone back together. Our main goal was simple: to revive a beloved event.
Overcoming Obstacles
Reviving SQL Saturday presented several obstacles:
We had no venue as the event previously took place at Golden West College.
We lacked access to past attendee, speaker, and sponsor lists.
Local volunteer support was minimal, and we had limited ways to communicate.
Despite these hurdles, our team was fueled by determination and equipped with a wealth of experience, a collaborative mindset, and a robust set of tools that made organizing simpler:
Thanks to our non-profit status, we had our own Microsoft Office tenant, which helped us create new communication channels as early as June 2023.
By December, we secured the Microsoft Irvine Office as our venue, thanks to Jen Beiser.
Our preparation included building a social media presence, frequent communications with volunteers, and using platforms like Sessionize and EventZilla to streamline event organization.
Event Highlights and Successes
The event saw numerous successes:
We welcomed over 80 attendees, with more than 200 registrations.
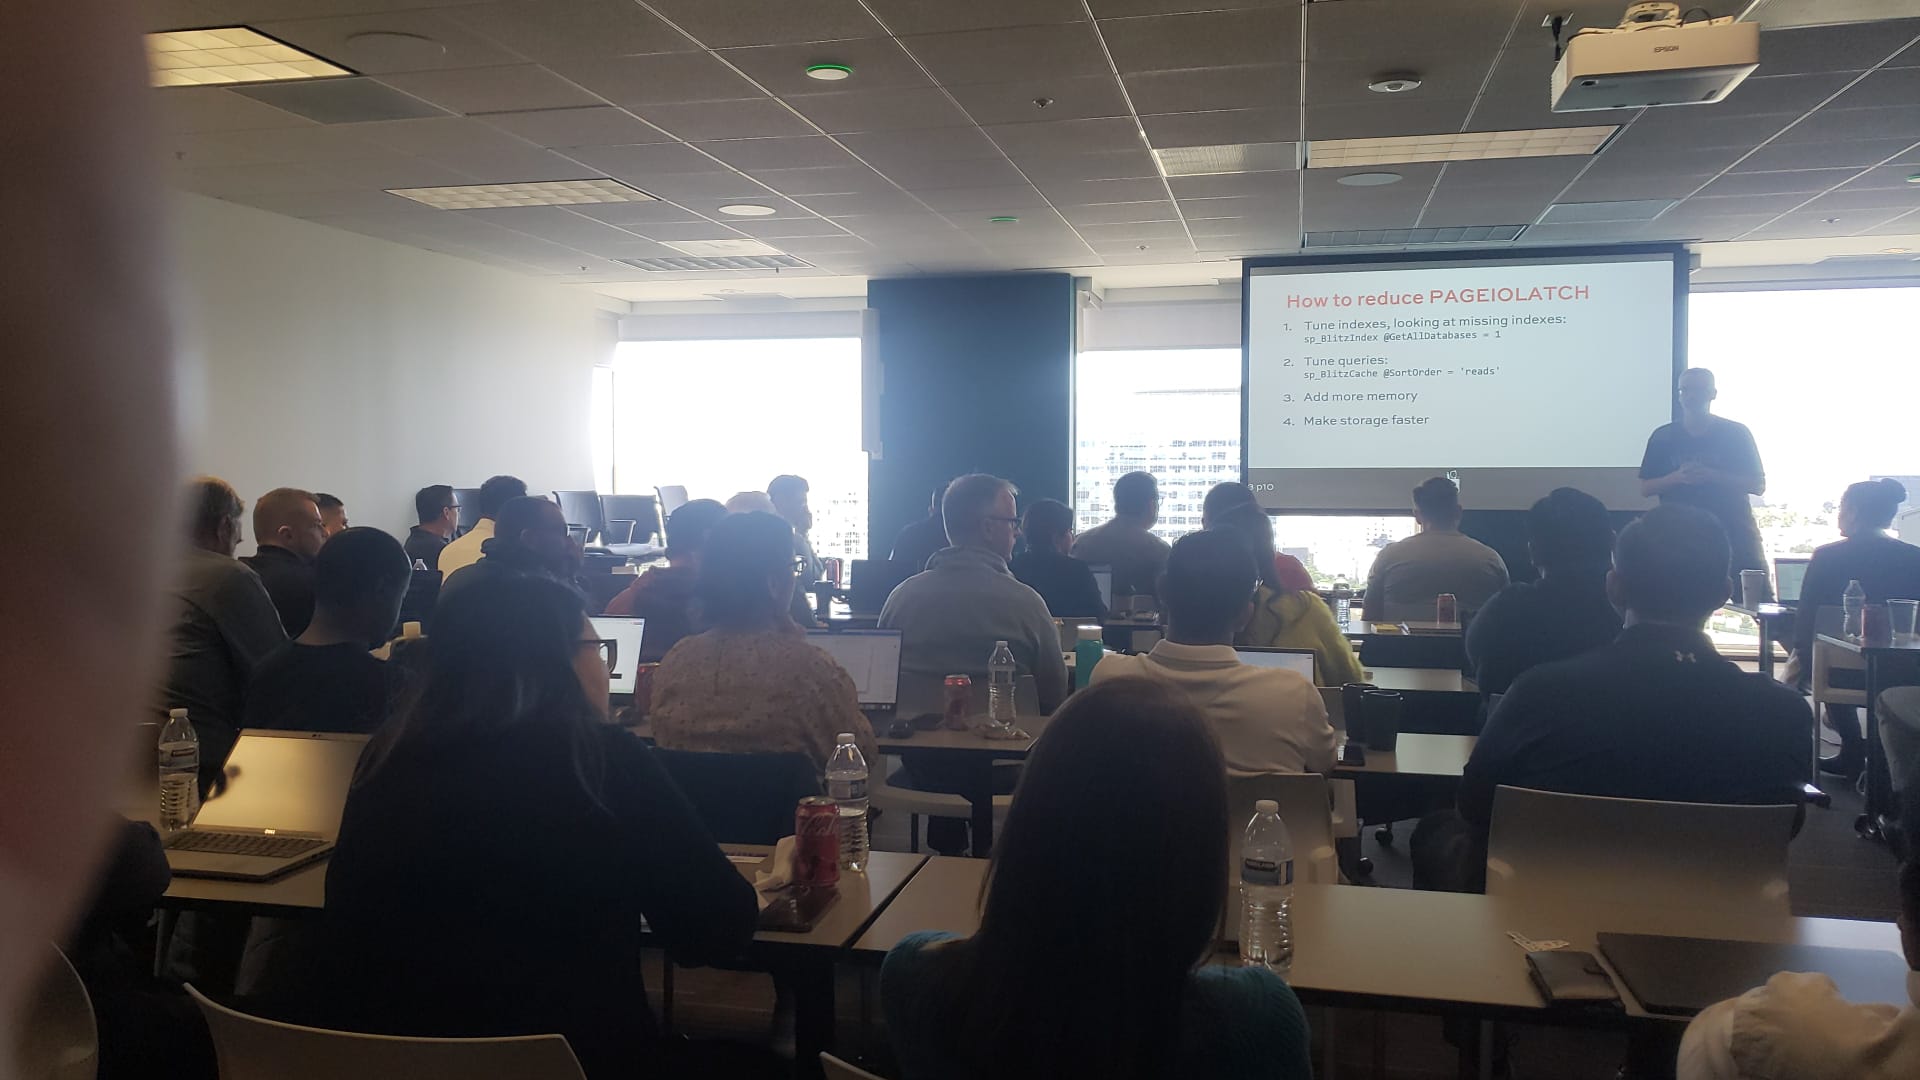
The pre-conference day featured a session on Tuning Databases by Brent Ozar, which was a major draw.
Our venue choice, the Microsoft Irvine Office, proved ideal.
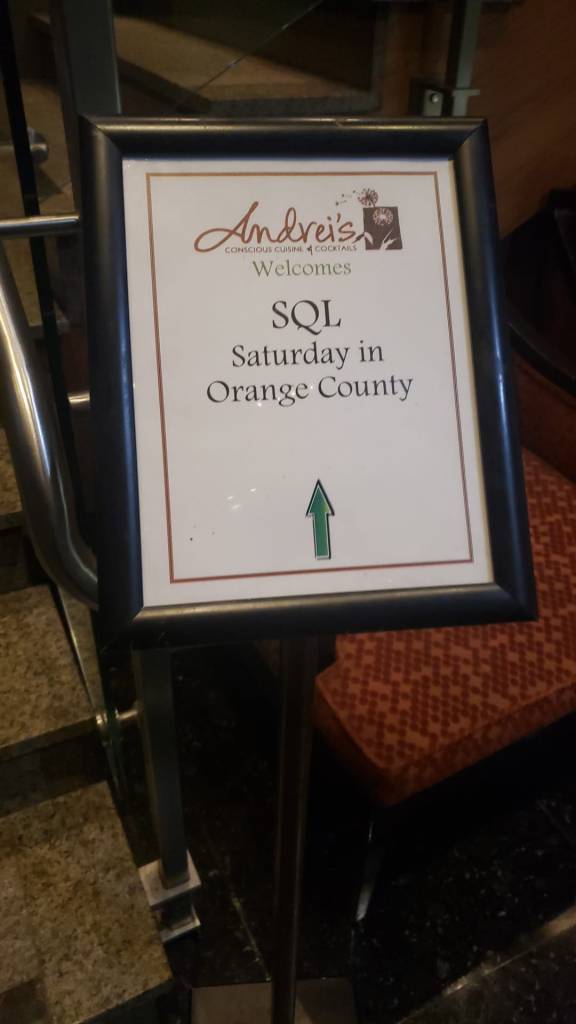
The speaker appreciation dinner at Andrei’s Restaurant and a well-organized lunch from Mendocino Farms added to the positive experience.
The use of technology like the EventZilla Organizer app and Microsoft Forms with QR codes enhanced the attendee and speaker experience.
Lessons Learned and Future Improvements
While many aspects of the event were successful, we identified areas for improvement:
Streamlining the check-in process, particularly during the pre-conference.
Providing clearer information about venue amenities like Wi-Fi.
Improving wayfinding within the venue with more and larger signs.
Testing room connectivity in advance to ensure a smooth experience for all speakers.
As we reflect on SQL Saturday 2024, we are grateful for the community’s enthusiasm and participation. Each challenge was an opportunity to learn and each success, a moment to celebrate. Looking forward, we are excited to apply these insights to make future events even more rewarding and engaging for everyone involved.
Join us as we continue to build on this foundation, ensuring SQL Saturday remains a cornerstone event for our community. Thank you to everyone who joined us this year, and here’s to many more successful gatherings in the future!
We are officially moving our LA Data Platform User Group meeting platform from Eventbrite to Meetup. This change will be finalized by April 30, 2024.
We started using Eventbrite a decade ago. Back in 2013, our user group was called SQL Malibu, was led by Julie Koesmarno, and we had a physical venue. Eventbrite was completely free to use for free events, and it was a great solution that we kept using beyond the user group meetings. We used that for the 2017 SQL Saturday in LA event and for all the events that followed after that, paying a small percentage of revenue for non-free tickets. In total, we have managed well over 100 meetings using Eventbrite.
Fast forward to today, Eventbrite is asking for money even for free events. While in theory, it’s still free (up to 25 free tickets), practically it’s no longer free. Even with 50% off for nonprofits, it’s still more than $0 that we used to pay before.
Given that our user group is already on Meetup and we don’t have to pay for it due to a partnership with Microsoft, it looks like a win-win. We can save money on Eventbrite and have less overhead publishing the same event on both platforms.