We are officially moving our non-profit credit card processing operations from PayPal to Zeffy (event sponsorship for now). This change will be finalized by April 30, 2024.
Back in 2023, we moved from PayPal to Stripe to only discover that Stripe is charging extra for invoicing. Invoicing didn’t cost us a lot, but this was an extra cost, was not transparent and we went back to PayPal. We are very frugal with our expenses after all.
After our Stripe experience, we tested a few more platforms and finally in 2024, we found our new sweet home. We have finally found a provider that allows our non-profit to keep 100% of all the proceeds. With Zeffy, we pay no fees for credit card transactions and the only downside of Zeffy is the lack of PayPal’s look and feel. The main reason for that is Zeffy’s main purpose is fundraising. A small price to pay for paying zero fees.
Ready to use Zeffy? Click on the link below and forget about fees!
We appreciate you taking the time to consider sponsoring 2024 Data.SQL.Saturday.LA. We have assembled a few sponsorship plans that you can select from. Donations for this event will be used only to cover the cost of running an event. If we have any surplus, it will go into sponsoring future events.
This event is spearheaded by a local organizing team, put together by a group of dedicated California-based database community volunteers, user group leaders, and volunteer speakers from SoCal, NorCal, other US States, and globally. The funding for this event is coming from Data Driven Technologies, Inc. a local 501.c.3 non-profit.
Event Overview
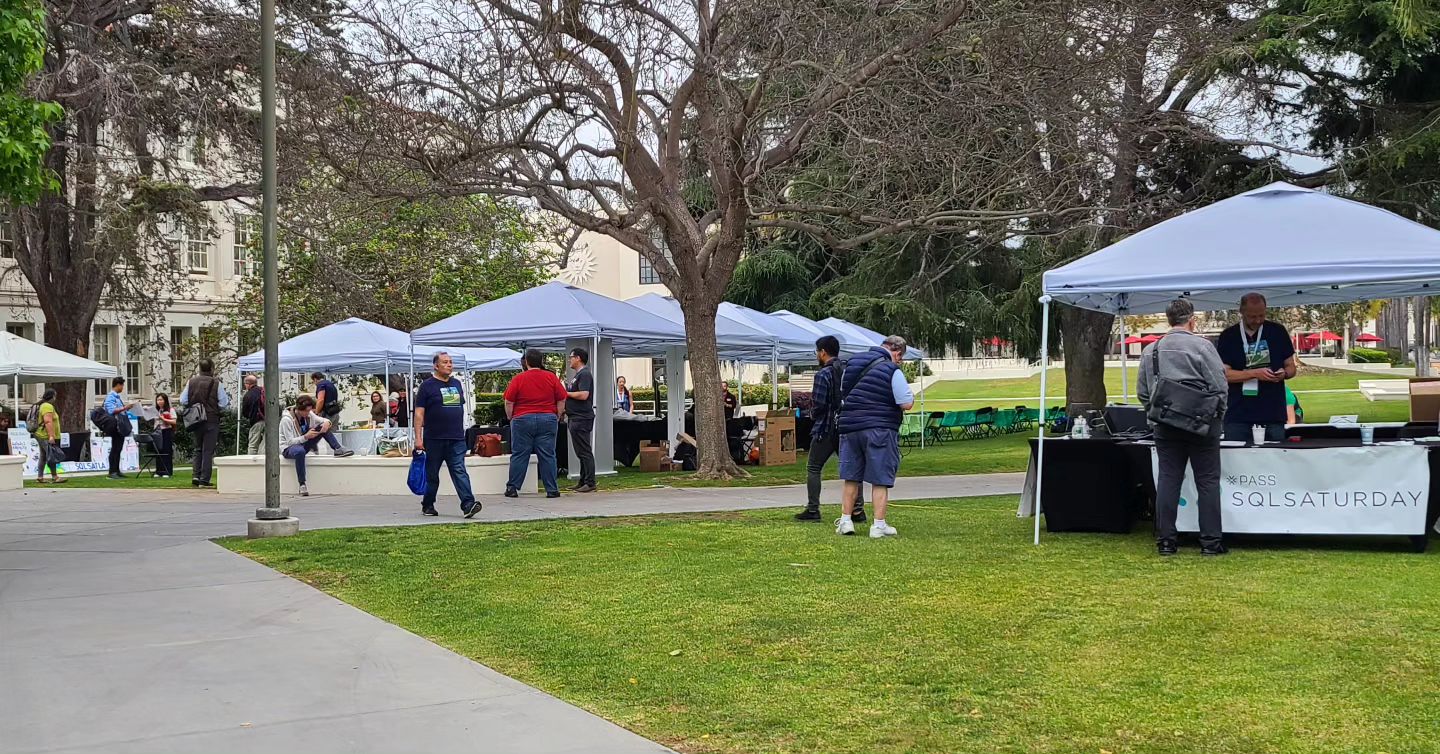
The Data SQL Saturday Los Angeles is a single-day conference that offers data professionals the opportunity to improve their skills and learn about new products while networking with others in their field and connecting with other members of the local Database community and our sponsors.
Attendance
We anticipate 150 attendees. Last year we had 100+ attendees.
Cost of Sponsorship
This year, sponsorship ranges between $0 for Value-in-Kind (“VIK”) and $2,000 for Platinum, depending on the package you select:
Tier
VIK
Bronze
Silver
Gold
Platinum
Amount
$0
$350
$650
$1250
$2000
Sponsor Logo and URL on the event website
x
x
x
x
x
Sponsor Logo and URL included in social media/email campaigns
x
x
x
x
x
Sponsors Logo included in session slides
x
x
x
x
x
Sponsor Logo included in YouTube videos
x
x
x
x
x
Social Media posts Facebook/Twitter/LinkedIn/Instagram
x
x
x
x
x
Sponsor Raffle
x
x
x
x
x
Collect Raffle Leads*
x
x
x
x
Email sent on behalf of a sponsor
x
x
x
Sponsor table (comes with 1 table, 2 chairs, WiFi , and electricity) (based on availability)
x
x
x
Product-focused sponsor session (based on availability)
x
x
Sponsor a room (name a room) (based on availability)
For other forms of payments like Zelle and ACH, please send an email to sqlsatla at datadriventechnologies.org
CancellationPolicy
Any cancellation that is caused by us will result in a full refund. It’s really that simple – no event, no expenses, no need for sponsorship money.
RaffleManagement
Raffle registration is used to opt-in attendee information with our sponsors. Remember the raffle prize is your key to success and the better the prize the more leads you will collect. Attendees must be present to win.
We will manage the raffle, collect, clean up, and de-dup the data for you and send you the leads after the event. We will let you know who the raffle winners are, and you can send them the prize. At the same time, we strongly recommend we take over prize disbursement as well, to be a one-stop shop for an entire raffle lifecycle. Please let us know if you would like to handle the raffle prize on your own.
We appreciate you taking the time to consider sponsoring 2024 SQL Saturday Orange County. We have assembled a few sponsorship plans that you can select from. Donations for this event will be used to cover the costs of running the event. If we have any surplus, it will go into sponsoring future events. The event is put on by (lead organizer), organized and funded by Data Driven Technologies, Inc. a local 501.c.3 non-profit, and its volunteers.
Event Overview
The SQL Saturday Orange County is a single-day conference that offers data professionals the opportunity to improve their skills and learn about new products while networking with others in their field and connecting with other members of the local Database community and our sponsors.
This event is put together by a group of dedicated Orange County database community volunteers, local database user groups, and volunteer speakers from SoCal, NorCal, other US States, and globally.
Attendance
We anticipate 150 attendees. This is going to be our first event after COVID. SQL Saturday Orange County used to bring 400+ attendees before 2019.
Cost of Sponsorship
This year, sponsorship ranges from Swag Only at $0 to Platinum at $2,000.00, depending on the package you select:
Tier
Swag
Bronze
Silver
Gold
Platinum
Amount
$0
$350
$650
$1250
$2000
Sponsor Logo and URL on the event website
x
x
x
x
x
Sponsor Logo and URL included in social media/email campaigns
x
x
x
x
x
Sponsors Logo included in session slides
x
x
x
x
x
Sponsor Logo included in YouTube videos
x
x
x
x
x
Social Media posts Facebook/Twitter/LinkedIn/Instagram
x
x
x
x
x
Sponsor Raffle
x
x
x
x
x
Collect Raffle Leads*
x
x
x
x
Email sent on behalf of a sponsor
x
x
x
Sponsor table (comes with 1 table, 2 chairs, WiFi and electricity) (based on availability)
x
x
x
Product-focused sponsor session (based on availability)
x
x
Sponsor a room (name a room) (based on availability)
For other forms of payments like Zelle and ACH, please send an email to sqlsatoc at datadriventechnologies.com
To sponsor please follow this link to fill out the sponsorship form: https://forms.office.com/r/jrJKCekzpU. An invoice will be emailed to you (generated by PayPal) and can be paid by check or credit card. All fees must be paid in advance.
CancellationPolicy
Any cancellation that is caused by us will result in a full refund. It’s really that simple – no event, no expenses, and no need for sponsorship money.
RaffleManagement
Raffle registration is used to opt-in attendee information with our sponsors. Remember the raffle prize is your key to success and the better the prize the more leads you will collect. Attendees must be present to win.
We will manage the raffle, collect, clean up, and de-dup the data for you and send you the leads after the event. We will let you know who the raffle winners are, and you can send them the prize. At the same time, we strongly recommend we take over prize disbursement as well, to be a one-stop shop for an entire raffle lifecycle. Please let us know if you would like to handle the raffle prize on your own.
Unfortunately, our attempt to shift from PayPal to Stripe ended up with paying extra for things that were included in PayPal. Lesson learned. Going forward, we will thoroughly test out the entire offer. While additional spending resulted in just $10-$20 payed for the luxury of using Stripe invoicing, we are extremely frugal with non-profit funds.
We are officially back on a PayPal train, changing all the Stripe references back to PayPal.
We are looking for volunteers. We are looking for awesome and passionate people to help us organize and deliver the event. This is a live and in-person event.
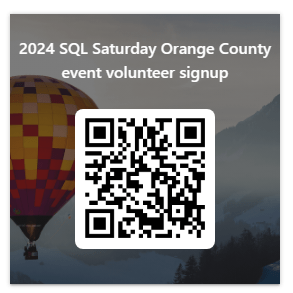
Please follow the link below to register as a volunteer or scan QR code.
We appreciate you taking the time to consider sponsoring 2023 SQL Saturday Silicon Valley. We have assembled a few sponsorship plans that you can select from. Donations for this event will be used to cover the costs of running the event. If we have any surplus, it will go into sponsoring future events. The event is put on by Armando Lacerda (lead organizer), Data Driven Technologies, Inc. a local 501.c.3 non-profit, and its volunteers.
Event Overview
The SQL Saturday Silicon Valley is a single-day conference that offers data professionals the opportunity to improve their skills and learn about new products while networking with others in their field and connecting with other members of the local Database community and our sponsors.
This event is put together by a group of dedicated San Jose database community volunteers, local database user groups, and volunteer speakers from Los Angeles, California, other US States, and across the globe.
Attendance
We anticipate 150 attendees. This is going to be our first event after COVID. SQL Saturday Silicon Valley used to bring 600+ attendees prior to 2019.
Cost of Sponsorship
This year, sponsorship ranges from Swag Only at $0 to Platinum at $2,000.00, depending on the package you select:
Tier
Swag
Bronze
Silver
Gold
Platinum
Amount
$0
$350
$650
$1250
$2000
Sponsor Logo and URL on the event website
x
x
x
x
x
Sponsor Logo and URL included in social media/email campaigns
x
x
x
x
x
Sponsors Logo included in session slides
x
x
x
x
x
Sponsor Logo included in YouTube videos
x
x
x
x
x
Social Media posts Facebook/Twitter/LinkedIn/Instagram
x
x
x
x
x
Sponsor Raffle
x
x $25 GC included
x $50 GC included
x $75 GC included
x $100 GC included
Collect Raffle Leads*
x
x
x
x
Email sent on behalf of a sponsor
x
x
x
Sponsor table (comes with 1 table, 2 chairs, WiFi and electricity) (based on availability)
x
x
x
Product-focused sponsor session (based on availability)
x
x
Sponsor a room (name a room) (based on availability)
x
x
Caffeine and pastries
x
x
Sponsor Email
x
Speaker Appreciation dinner
x
Sponsorship Plan
To sponsor please follow this link to fill out the sponsorship form: https://forms.office.com/r/2NAqbp24uC. An invoice will be emailed to you (generated by PayPal) and can be paid by check or credit card. All fees must be paid in advance.
CancellationPolicy
Any cancellation that is caused by us will result in a full refund. It’s really that simple – no event, no expenses, no need for sponsorship money.
RaffleManagement
Raffle registration is used to opt-in attendee information with our sponsors. Remember the raffle prize is your key to success and the better the prize the more leads you will collect. Attendees must be present to win.
We will manage the raffle and collect, clean up, and de-dup the data for you and send you the leads after the event. We will let you know who the winners of the raffle are, and you can send them the prize. At the same time, we strongly recommend we take over prize disbursement as well, to be a one-stop shop for an entire raffle lifecycle. Please let us know if you would like to handle the raffle prize on your own.
A few weeks ago (June 10, 2023) we had our 2nd EVER (after covid) in-person event and it’s time to talk about how it all happened. This blog post is going to talk about our original plan, what we were able to deliver, and what worked well vs. what needs improvement.
After our first in-person event (after covid), our goal was to rinse and repeat while trying to meet or beat our 300+ attendees in pre-covid days. We wanted to see more speakers, sponsors, and attendees. We wanted to see more enthusiasm for data, and we wanted to see greater outreach beyond our 78 attendees back in 2022.
Despite a late/slow start on March 2023, we got things together pretty quickly. Due to our past experience and the desire of teammates/volunteers to have another awesome event, we were ready in less than 2 months. After a total of 5 online meetings to prepare for the event and numerous emails/text messages/calls/messengers, we were ready to make it happen.
Running an in-person after covid and after the PASS demise
Since this was our second in-person after PASS’s demise, we already had most if not all tools lined up at our disposal to replicate and enhance our event experience. The Team behind sqlsaturday.com was excited and ready to help with YAML. The LMU Team was excited to have us back. We (aka the Team) were excited to forget about online meetings for a day and have a great in-person event.
Tools used during this event:
Eventbrite.com for event registration
Eventbrite Organizer mobile app to check in and register on the spot if needed
Eventbrite.com to sell & process lunch tickets and credit card transactions
Eventbrite.com event collection to promote both pre-conference and the main event
Datadriventechnologies.org blog post to list all available sponsorship tiers
Microsoft Form with QR code to enable sponsor sign-up
Stripe.com to generate invoices for sponsors and process sponsorship fees
Sessionize.com for speaker registration/schedule/session management
Sqlsaturday.com for event listing
Microsoft Forms with QR codes for event and session feedback
Microsoft Forms with QR codes for event/sponsor raffle
Microsoft Forms with QR codes for volunteer registration
Sender.net to send email marketing campaigns
Buffer.com for scheduling posts on Facebook, Twitter, and LinkedIn
Planoly.com for scheduling posts on Instagram
Event stats:
100+ attendees with 200+ registered attendees
20+ speakers and 20 sessions (4 rooms x 5 sessions)
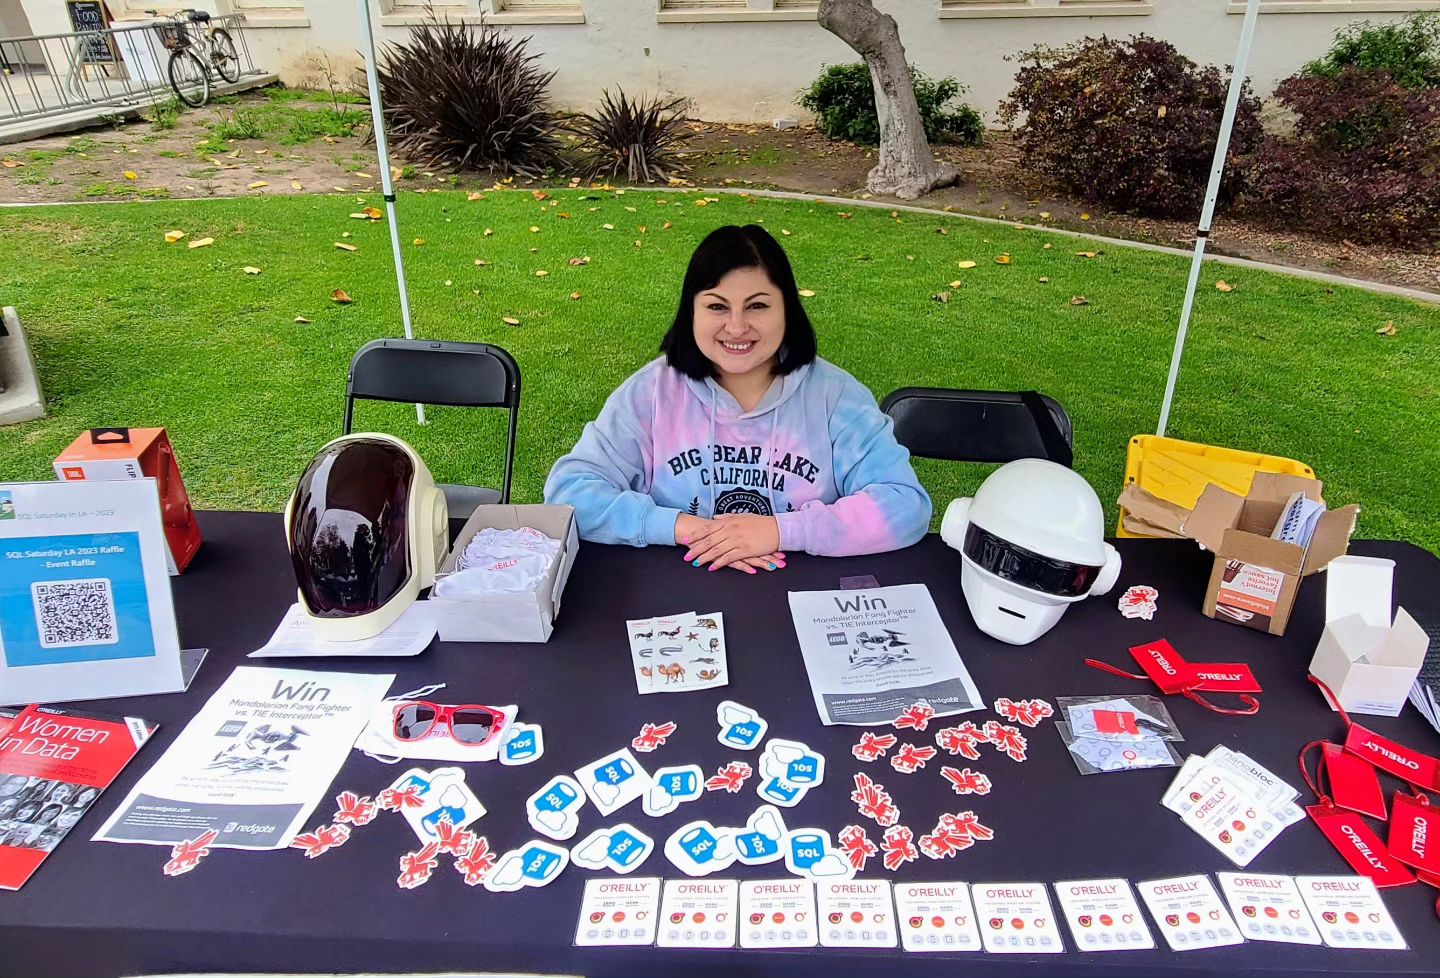
10+ paid sponsors (5 sponsor’s tables)
Things that we planned, but decided against
Advertise using road billboards
Record sessions and publish them on our YouTube channel
Codecamp challenge
What worked great
Speaker appreciation dinner at the Gulp Restaurant and Brew Pub in Playa Vista to facilitate flow and exchange of enthusiasm for data
Pre-conference SQL Server Performance Tuning with Free Tools all-day training by John Sterrett
Lunch group order for 20 people from Mendocino Farms
Eventbrite Organizer phone app to register and check-in attendees
2 separate event tickets, one for free admission and one for a $15 lunch ticket
Combined Social Media Booth with Keynote and Raffle
Event raffle with a minimum paper trail
Inclusion of raffle gift cards for each paid sponsorship
Speaker gifts (something small, but valuable)
Sessionsize-made social media banners to promote the event on social media
Communication via Sender.net email campaigns
Created session PPT template
Guesstimated the right amount of food and beverages for breakfast and lunch
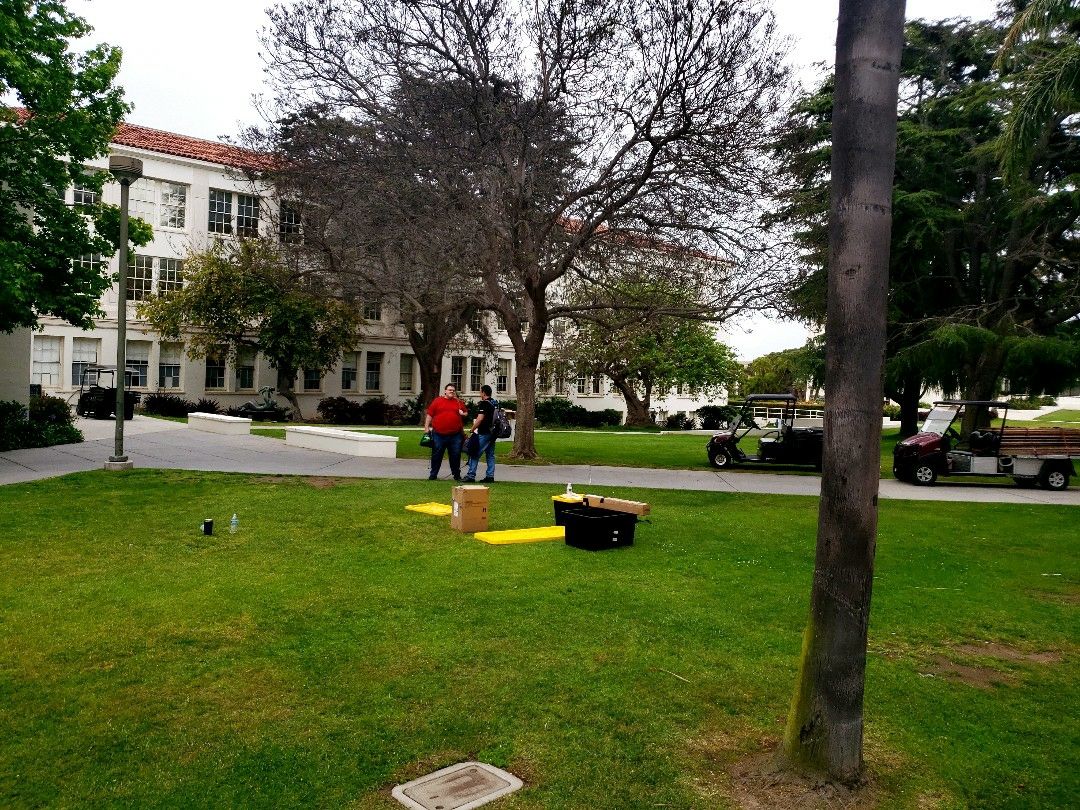
Buying canopies instead of renting them out to save money
Buying our own coffee/tea urns instead of renting them out to save money
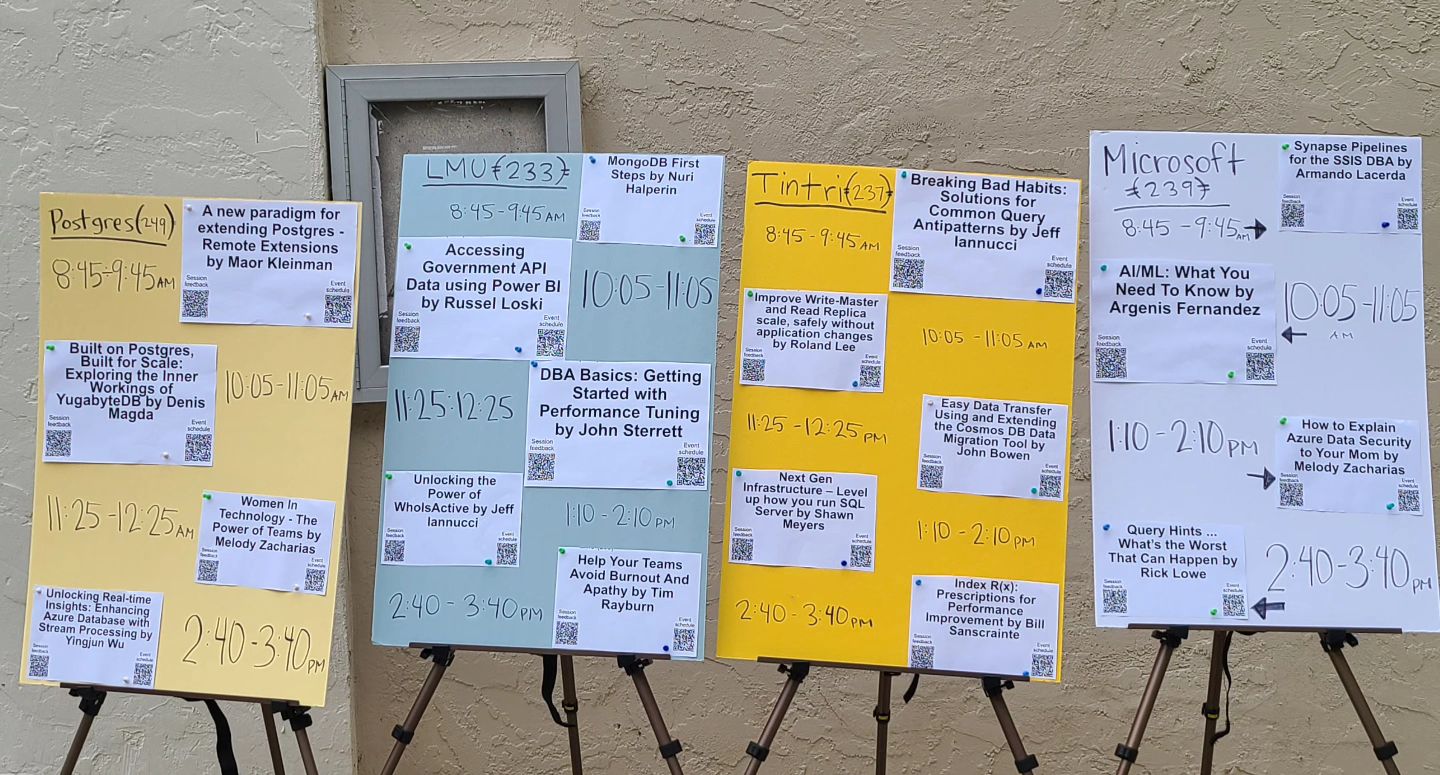
Printed event schedules as well as created large format event schedules (with session feedback and event schedule QR codes)
Shared all the event printable stuff with an entire team
Invited Postgres sessions with distributed database systems
Scheduled a Women in Technology (“WIT”) session
Recorded interviews with speakers/sponsors for our YouTube channel
Recorded all event expenses and gains in Office 365
Employed a group on WhatsApp mobile app to capture session attendance and photos
Procured drawstring backpacks as attendee bags
Things to improve
Find alternatives to Stripe credit card processing that currently charges extra for invoicing
Revisit included gift cards and make changes to make them attractive and consistent
Explore venue alternatives to St. Robert’s Building (“STR”)
Change static QR codes to dynamic and print high-quality posters
Check if Eventbrite allows conditional event tickets
Improve raffle management, provide a list of sponsors and items to raffle, list of winners to raffle managers, note sponsor prizes
Improve event attendance, with more speakers and sponsors
Ask the LMU desktop support to check the room projector hookups
Ask the LMU maintenance crew to make sure that A/C is working in all the session rooms
Use a Group order option/feature for Lunch orders to have an exact amount of food with attached attendees’ names
We appreciate you taking the time to consider sponsoring 2023 Data.SQL.Saturday in LA. We have assembled a few sponsorship plans that you can select from. Donations for this event will be used to cover the costs of running the event and the LA Data Platform SQL User Group meetings. If we have any surplus, it will go into sponsoring future events. The event is put on by Data Driven Technologies, Inc. a local 501.c.3 non-profit, and its volunteers.
Event Overview
The Data.SQL.Saturday is a single-day conference that offers data professionals the opportunity to improve their skills and learn about new products while networking with others in their field and connecting with other members of the local Database community and our sponsors.
This event is put together by a group of dedicated Los Angeles database community volunteers, local database user groups, and volunteer speakers from Los Angeles, California, other US States, and across the globe.
Attendance
When the event was held in person, it used to bring in 300+ attendees. In 2020 we moved to a virtual event for the first time and had 700+ registrations from all around the world, with 400+ attending the event. In 2022, the first in-person event after COVID19, we had 78 attendees in total. For 2023 event, we anticipate 100+ attendees.
Cost of Sponsorship
This year, sponsorship ranges from Swag Only at $0 to Platinum at $2,000.00, depending on the package you select:
Tier
Swag
Bronze
Silver
Gold
Platinum
Amount
$0
$350
$650
$1250
$2000
Sponsor Logo and URL on the event website
x
x
x
x
x
Sponsor Logo and URL included in social media/email campaigns
x
x
x
x
x
Sponsors Logo included in session slides
x
x
x
x
x
Sponsor Logo included in YouTube videos
x
x
x
x
x
Social Media posts Facebook/Twitter/LinkedIn/Instagram
x
x
x
x
x
Sponsor Raffle
x
x $25 GC included
x $50 GC included
x $75 GC included
x $100 GC included
Collect Raffle Leads*
x
x
x
x
Email sent on behalf of a sponsor
x
x
x
Sponsor table (comes with canopy , 1 table, 2 chairs, WiFi and electricity) (based on availability)
x
x
x
Product-focused sponsor session (based on availability)
x
x
Sponsor a room (name a room) (based on availability)
x
x
Short video advertising embedded in a recorded session (if the room is recorded)
x
x
Caffeine and pastries
x
x
Sponsor Email
x
Speaker Appreciation dinner
x
12 months of LA Data Platform User Group sponsorship
x
Sponsorship Plan
To sponsor please follow this link to fill out the sponsorship form: https://forms.office.com/r/4VWxbgTBrQ. An invoice will be emailed to you (generated by PayPal) and can be paid by check or credit card. All fees must be paid in advance.
CancellationPolicy
Any cancellation that is caused by us will result in a full refund. It’s really that simple – no event, no expenses, no need for sponsorship money.
RaffleManagement
Raffle registration is used to opt-in attendee information with our sponsors. Remember the raffle prize is your key to success and the better the prize the more leads you will collect. Attendees must be present to win.
We will manage the raffle and collect, clean up, and de-dup the data for you and send you the leads after the event. We will let you know who the winners of the raffle are, and you can send them the prize. At the same time, we strongly recommend we take over prize disbursement as well, to be a one-stop shop for an entire raffle lifecycle. Please let us know if you would like to handle the raffle prize on your own.
We are looking for volunteers. We are looking for awesome and passionate people to help us organize and deliver the event. This is a live and in-person event.
Please follow the link below to register as a volunteer or scan QR code below.